Monday, January 28, 2013

Onesie FUN!!!........

For my Cutting Cafe project this week I used the set:

 ONESIE SHAPED CARD....TEMPLATE - CUTTING FILE.


Here is a sneak peek.........

When I start playing with this set, I just wanted to keep going, making more and more.  This set is VERY fun.  You can turn the onsie into a t-shirt and make "Big" Sister or "Big" Brother shirts.
You can make a Valentines Day, Daddy's little slugger, Daddy's little Princess,  Mommy's little monster.  The possiblities are endless.

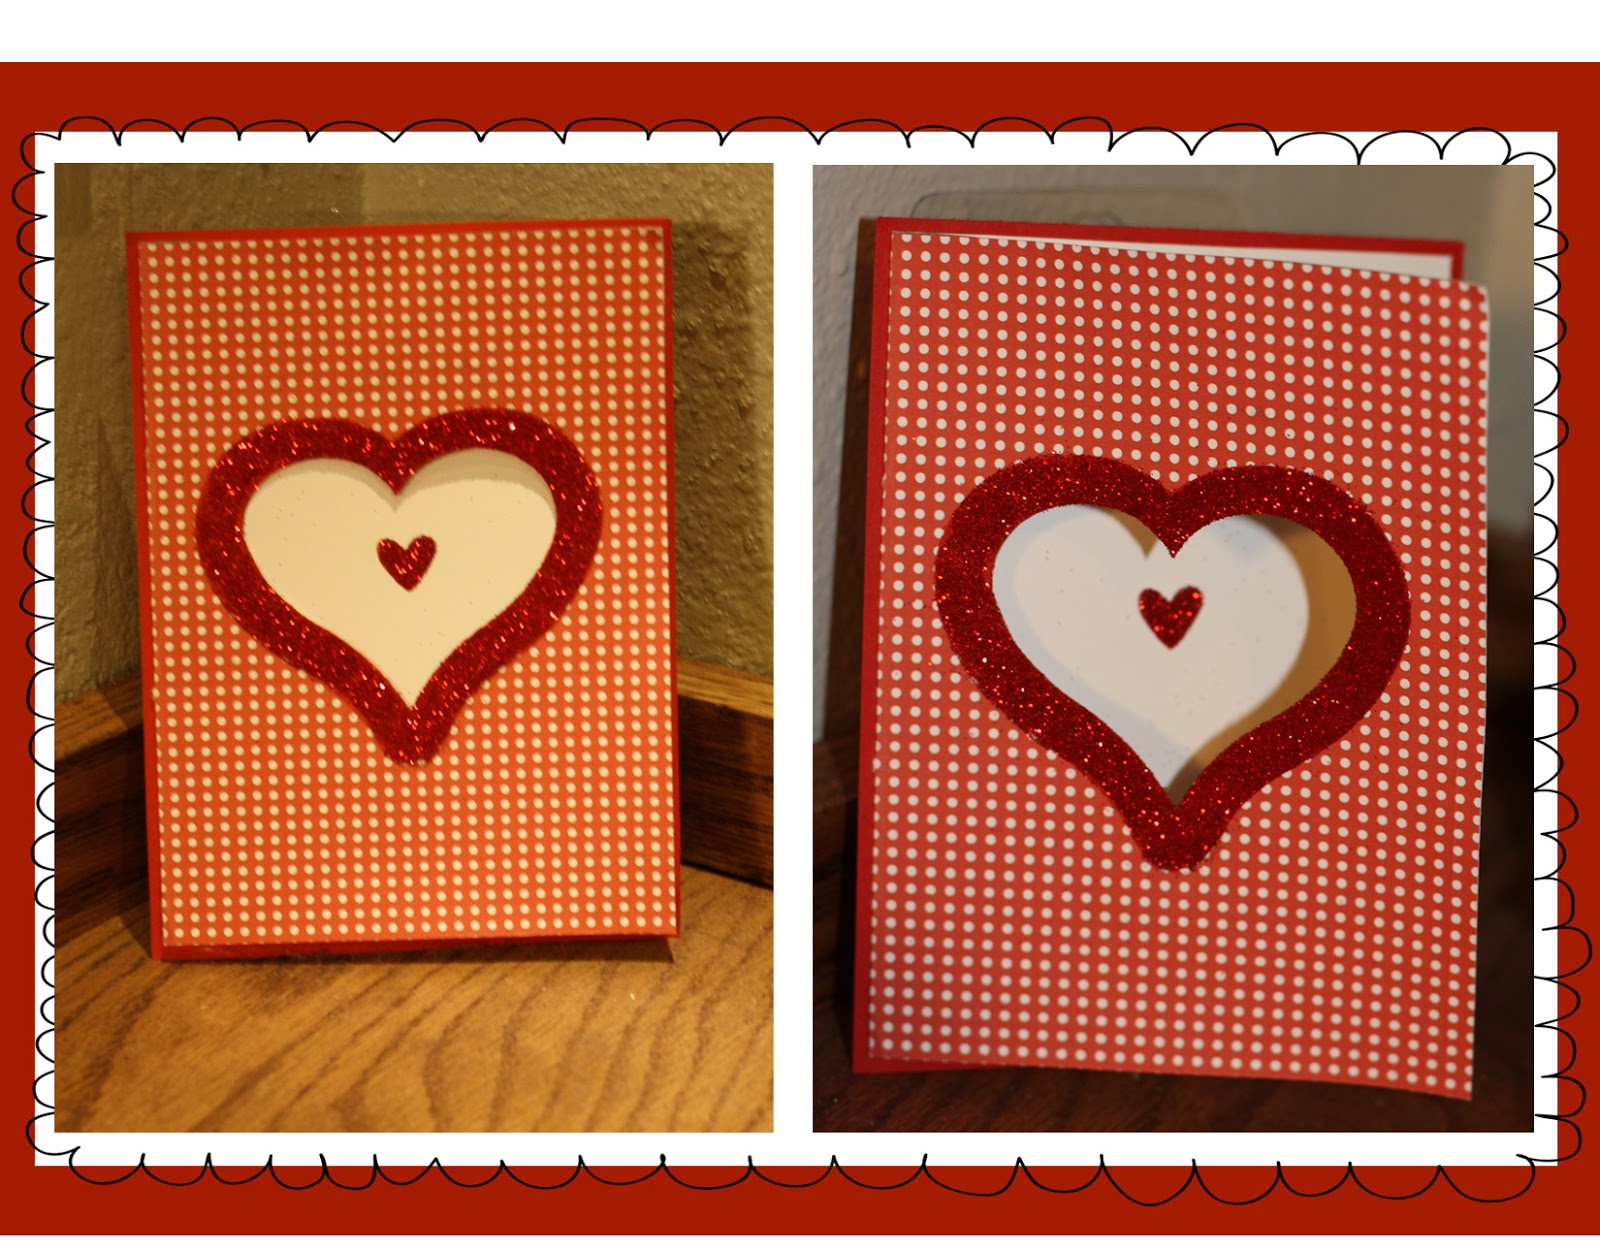
 Here are the ones that I made.  All very simple.  I hope that you like them.

 I used the silhoutte Cameo's print and cut feature.  I'm addicted to it. There are good addictions :O) ...I also used the pattern paper that came with the studio program. 
Okay, so what do you think?  I have had a ton of fun making these.  I will have more to add in a couple of day....Some "BIG SISTER~BIG BROTHER" shirts, not onesies.  I did use the onsie set though. 
Here is one more that I would like you to see.  I used: 
 
 
Thanks so much for stopping by.
These would make the cutest birth announcements, baby shower invites or even birthday party invites.  Regina has a very cute Party Hat set and A Birthday set as well.
Don't forget to stop by The Cutting Cafe'!!!!

Sunday, January 27, 2013

DRUM ROLL PLEASE.............

Well, I've been watching many videos and asking many questions to figure out how to get to you my VERY FIRST digital stamp. It is free for the takin'.   I hope Im doing this right...guess we will find out.   I designed it in Photoshop Elements 10.  I know it's nothing fancy, but thought I would give it a try.

JUST CLICK ON THE HEART TO DOWNLOAD.  I would love to know how the download worked for you.  I did test it and it seemed to work fine. I was also able to use it in Silhouette Studio and used the cut and print feature.  I would also love to see your creations with this digi stamp.

If you have any comments or suggestions feel free to share.  I'm learning and have lots more learning to go.  It's all for fun and sharing what I make for my cards, scrapbook pages, etc.  For this heart, I learned how to make an out line of a stamp (with it being an outline instead of filled).  I also learned how to make a dotted circle (this video was VERY helpful), but had much more success using CS5.  I've had the program going on two years and have never used it.  It was much easier doing the dotted circle in that program verses PSE.  I will share something maded with the dotted circle later.  Now I have to get to my project for The Cutting Cafe'.

Monday, January 21, 2013

I loooooove chalkboard crafts.....

For this weeks project for The Cutting Cafe,  I used the FUN WITH HEARTS.....PRINTABLE SET.


Here is a Sneak Peek

                 HEARTS           HEARTS1

This FUN WITH HEARTS printable stamp set features 48 images...there are 23 different hearts...each are approx. 2.5 by 2.5 inches and 1 inch....also there are 2 wings...large and small to work with the 2 different size hearts.

I used my newest favorite toy.....my Silhouette Cameo.  The print and cut feature is so much fun. All I want to do right now is Print and Cut!......  And The Cutting Cafe has tons of sets I can't wait to try.

Three things I like are hearts, polka dots and flowers.  When I saw this set, I knew I would use it for my Valentine's Day projects.  How could I pass it up, three of my favs in the same set.  Whooo Hooooo!   I knew that I wanted to make a card and I really like all the chalkboard crafts that you see on Pinterest and craft blogs, so I put the two together and came up with this.  Hope you enjoy!!

Here is the heart with flowers.......


And here is the heart with polka dots.
 
To get the chalkboard look I used black cardstock, white stamp pad and a white watercolor pencil.  Embellished with red ribbon and a button slide from Stampin' Up!


Sunday, January 13, 2013

Valentine's Day is just around the corner.........

For my project this week for The Cutting Cafe, I used the HEART BAG CUTTING FILE/template. Thought it would be perfect for the next holiday quickly approaching.   I also used the ASSORTED BANNER TEMPLATES AND CUTTING FILES.  It comes with 3 different banners to add to your cards or projects. 
I think this bag would be the perfect size for friends, coworkers or your childs Valentine's party at school.  Just enough candy that you wouldn't have to break anyones New Years Resolution.

 
For this project I used the print and cut feature on my Silhouette Cameo. (Did I ever tell you how much I LOOOOVE my Cameo?~ hehe)  I added the scalloped banner around the top of the bag.   I also added twisted rafia for the handles and made a small crochet flower. To give it a finished look I added a small button brad.  Oh, I used a free digital paper I found online.  I can't remember where though.  I have started saving them by the designer so that in the future I will be able to tell you where to get them.
I had an extra heart from this set, so I did something very simple and just added it to a box I found in my craft stash. 
 
Don't forget to stop by The Cutting Cafe, you won't be disappointed!!!

Friday, January 11, 2013

A few of my scrapbook pages..........

 
We took my son, Chris, on a cruise for his graduation gift.  He graduated in 2010.  This "pirate" in Cozumel was amazing!


Just enjoying the fresh air.....

Monday, January 7, 2013

Driving by........

I have had sooooo much fun doing these projects.  Today, however, has been a day of challenges.  I've had computer trouble, blog trouble (which explains the way you are veiwing everything) printer problems and Silhouette Studio has given me fits.  To top it off, I got ink on one of my FINISHED projects and had to redo it.  

Anyway, I am happy to tell you, after ALL of that, I am ready to unveil......... 

Finished project! I used the cute car from the Feb 14 printable set at The Cutting Cafe!
This set has 82 images!  It has been so fun working with this set, Thanks Regina
 
Just a close up to show the 3d details

Card Details:
I used Silhouette Studio to import some digital paper (sorry, I can't remember where it came from) Then I printed it on my printer and cute it out with the silhouette cameo.  Oh, I designed the rest of the topper in Photoshop.

The next two projects are also from the same set. 

I used one of the circle cards from the Silhouette Store and the circle stamp from the Feb 14 set.
 
This is a little memory album I picked up at the Dollar Store.
I used one of the printable stamps and the heart stamp from the same set.  The tag is from the Silouette store.   I added cute little button brads that I got from Stampin UP.


Don't forget to stop by The Cutting Cafe
Thanks for stopping by!


Tuesday, January 1, 2013

A New Venture for the New Year!

Happy New Year Everyone!  Hope the New Year finds everyone in the best of health.  A new year means, a new and fresh beginning, new goals and New Life!  With the new year comes new goals.  One of my new goals this year is to get "out of the box" on different aspects of my life (I tend to like to stay inside my box).  One of my "out of box" goals is to share my love for crafting. 

So today is the day that I get to share one of my new 2013 goals.  As a design team member for The Cutting Cafe', here is my very first project.  For the first project we got to pick anything we wanted to use from the store.  So, I decided to use something that would go with the next holiday.....Valentine's Day, of course. 

Card Details:
Background printable stamps - Tiny solid dot
Assorted Heart Card Templates - Cutting Files (card nine and card nine optional heart)
fine red glitter (not sure of the brand, I took it out of it's original package and but in a cute jar)
Used my Silhouette Cameo to cut the card out.  Glittered the additional heart and assembled. 

I did a second project and made a little treat bag out of The envelope from:
Assorted Heart Card Templates and Assorted Heart Borders.
To do this project I used my Silhouette Cameo.  I opened the envelope and opened the heart borders over the top.  I filled in each heart red and printed it out.  I assembled the envelope, sealed it and then folded it into a little treat bag.  I crocheted a little heart and attached it to a tag and used a small stamp from Papertrey Ink. 

Go to The Cutting Cafe and check out the store and all the great ideas everyone has!