Tuesday, May 14, 2013

I Love You A Latte..........

(Not real sure why this post isn't layed out correct~ it's a mess and I can't correct it~Sorry)

I can't believe I actually finished my project for The Cutting Cafe.  I had one problem after another.  First, the silhouette studio kept freezing me up and I kept having to start over.  It happened, not one, not two, but three times.  Yes, I said THREE!  My husband said, "That's why you are suppose to save your work!"  Yep, I know that, It wouldn't let me before it would freeze up again!  Oh, the next problem was cutting.  I've had a few issues in the past with cutting, but not like this.  It would cut each image at least 6 times and still not cut all the way through the paper.  Oh well, I finally got it done!

    Do you like coffee?  I like it more now than I use to.  Today I had two BIG cups (I usually only have one, but I had to wake up).   I haven't had alot of fancy coffees or lattes.  Heck I'm not even sure what a latte really consist of.  When Regina at  The Cutting Cafe designed this adorable cutting file I immdiately had a idea of what I wanted to do with it.......One was use the saying "I Love You A Latte" 

For my project this week I used:

COFFEE CUP SHAPED CARD 2 template - cutting file is approx. 4 by 5.25
The set comes with 9 sentiments (will punch out using a 1.5 inch circle punch), 4 misc images and an inside pocket to hold a gift card.
COFFE CUP SHAPED CARD
  This is the sentiments that comes with the set.


I hope you like my card!


I used my Silhouette Studio to cut out the SVG files that come with this set.  I really enjoyed making this card despite all the problems I had with my Cameo and the Studio progam.
Additional supplies:  Craft cardstock, white cardstock, double sided tape and red ribbon

Go to The Cutting Cafe Blog to see the rest of the design team's projects.  Don't forget to leave a comment to win free sets.  Every week Regina has a winner for free sets out of the store, she's sweet that way!!!

 Oh, I almost forgot to post the picture of the problem I was having with my Silhouette Cameo.

It would cut each image at least 6 times and it still would cut all the way through.


I had some really bad cuts this time.  It was very frustrating.

This circle is a close up of the mess it was making....UGH! 

If you like this project or have suggestions on my cutting problems, please feel free to leave comments at the end of this post.

Monday, May 13, 2013

My first Silhouette Challenge Group project.......

Hello everyone.  This is my first time to post to the group.  I'm sooo darn excited.  I just hope my project is up to par. This project has been rolling around in my head for some time. 

I got a my Cameo about 6 mos. ago and it is by far my most favorite tool in my craft room.  I am on two design/creative teams right now and I have used my cameo for all projects but one (so far).  It's not that I don't like other mediums, It's just so darn easy to use my print and cut feature on the cameo.

For this project I used vinyl.  I love vinyl, you can put it on soooo much. You can make a project look so nice with it.  I really want to try other types of vinyl, like iron on vinyl or outdoor vinyl.  I did just do a project with the regular vinyl from the silhouette store on an outdoor metal chair for a friend's grandaughter.  I used a clear spray sealer because I don't have any outdoor vinyl right now.  I told her to let me know how that goes (for future projects).

So without futher adieu....here is my project.  Hope you enjoy....now on to see everyone else's projects....Whoo Hoooo!


I bought this frame years ago thru Stampin' UP!  I found it while cleaning out the garage attic.  Another wooohoo!! (for cleaning out the garage and finding this frame)  It's a white canvas type frame.  I came up with this little tutorial to show you the steps.


Step 1 - First I bought the Artisian Flourish image at the Silhouette online store.  I used Silhouette Studio and sized it to the desired size and cut it out with vinyl.  Be sure to check your settings for vinyl.  This way it doesn't cut all the way thru.  For the "The Alley Family"  I just played around until I got something I thought went with the medallion.  Most of my fonts I get for free at Dafont.com


Step 2 - I put a base coat of tan down.  This is the color that will show thru at the end when you remove the vinyl.  Make sure this coat is dried completely.


Step 3 - After "weeding" out your vinyl and applying transfer tape to it,  I eyeballed where I wanted it to go and layed it down.  Once down you will want to smooth it out with a scraper (even a credit card or a scraper that comes with your Pampered Chef stones will work) Make sure that the vinyl is down good. 


Step 4 - Top coat of paint.  I used black.  I completely covered my frame with the black.  Let dry, but still have a little tackiness to it. 


Step 5 - Take your "weed" tool, I got mine from the Silhouette Online store, (You can use and exacto knife if you don't have this tool) and remove all the vinyl pieces from your project.  At this stage you can do any touch ups with the paint if needed.  I didn't do this, but I read somewhere that once you put your vinyl on your project you can go over with modge podge and let dry.  This helps with having crisp lines.


Step 6 - Add any embellishments and of course your pictures.  My husband didn't like the picture of my youngest, well it isn't that he didn't like it, he just thought it was too big for the frame.


Hope you enjoyed my project! ~ Tanya 


Want to check out some more  Silhouette Projects?  Here's a collection of projects by my Silhouette Challenge buddies.

Spring Hoop Home Decor - Daily Dwelling
Girly Superhero Decor - Coley's Corner

Interested in joining us for our group posting event next month? We'd love to have you. Simply contact Lauren from The Thinking Closet by email.


Wednesday, May 8, 2013

WHOOO HOOOO.....Another Silhouette Portrait Giveaway

Head on over to The Thinking Closet for a chance to win the Silhouette Portrait. 

Silhouette Portrait Giveaway at The Thinking Closet - May 8 - 12

While you are there check out the promotions going on using The Thinking Closet code....see below

May Silhouette Promotion & Giveaway at The Thinking Closet

Tuesday, May 7, 2013

Happy Graduation!!!

Oh man, it's that time again.  For me that means my youngest is almost a Senior.  I'm not ready, I'm not ready, I'm not ready!!!!!!!  I know as soon as he graduates, he's moving on and out.  He's very independent.  I know this is what they are suppose to do and it's the healthy thing for him to do (It is
NOT healthy for me) 

This week The Cutting Cafe Desgin team could use any file they would like. It's our first project for the new term.   Since my son has several friends graduating so I decide to make these keychains for my Cutting Cafe project.  I used one of the stamps from the:
These are the bonus images (and the ones that I used) that comes with this set. 
2013-01-16_223447

I used the congrats one for this key chain, but have a couple others to make so I will probably use all three.

I recyled/repurposed a key chain that I had bought at a school garage sale years ago.  I only bought a couple not knowing what I was going to do with them.....now I wish I had bought them all.  I originally had a christmas wreath on it.  I used the print and cut feature on my silhouette cameo.  I left it black and white because that goes with our school colors.  For this one, I added ribbon because it is for one of the girls.
Bg tiny solid dot 
I created an inside to the box so that I could attach the key chain to it.  I love polka dots!  I was going to use one of The Cutting Cafe's box cut files, but this key chain already had a really nice box with it.  If I threw it out, it would defeat the purpose of my recyle part of my project. 
So are you ready for the project?
 TADA!!!

I used my silhouette to do a print and cut on the below stamp. 

I used modge podge and let it sit for at least three hours.  I added ribbon to bling it up a little.
Please stop by and say "Hi" to all of the new team members and take a look around at there projects.
Also comment on your favorite project for a chance to win sets!!!!


Sunday, May 5, 2013

Free Facebook Timeline

Right now if you go to Peppermint Creative's Blog you can download Free Facebook Timelines for FREE....yes, I said FREE!!!! 

And EVERYTHING else it 34% off!

Facebook Timeline Cover Templates
 
Here is the one that I made......
Of course I had to use the pictures that I just took at Prom of my handsome son and his lovely girlfriend.
 
I used the New Year Cheer Kit (see below) from Peppermint Creative
EVERYTHING is on sale at 34% off until tomorrow.  I just snatched up some kits for myself!  Don't miss out on this great deal! 
 
New Year Cheer Kit

She has other freebies too!!!

Tuesday, April 30, 2013

Spring is in the air...........

It has been a beautiful last couple of days....Finally!!!  The weather here is so unpredictable.  On Thursday is suppose to get back down in the low 30's.  I've got everything planted so I hope it doesn't freeze or I will loose it all.  With spring comes gardens, plants and lots of flowers (and weeds....hopefully not too many~lol)

This week at The Cutting Cafe we were able to choose anything we wanted to work with!  I bet you can't guess what I chose! ....Why, yes, the flower!!!

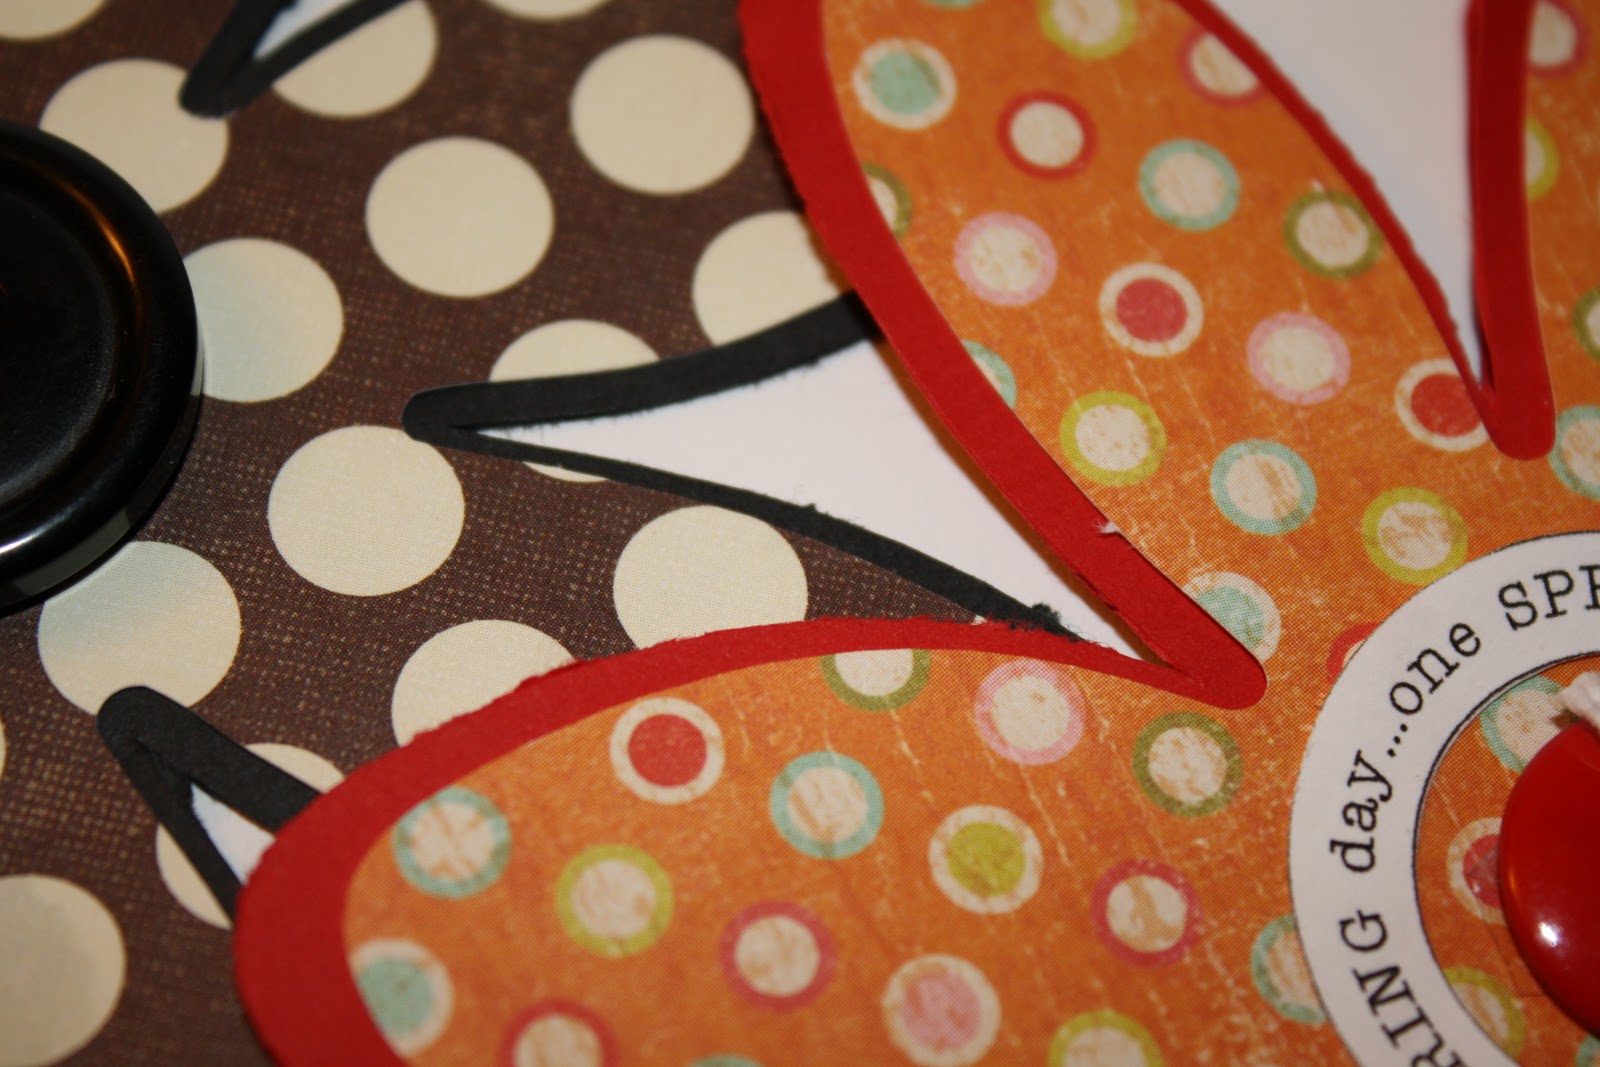
FLOWER SHAPED CARD TEMPLATE - CUTTING FILE... This flower shaped card is approx. 5.5 by 5.5 inches....It comes with an extra top piece for layer and a circle word that will punch out with a 2 inch circle punch...circle word reads: if friends were like flowers, i'd pick you.

I still can't pick the one I like the most. 


I used my silhouette cameo to cut the file.
 
Make sure you stop by The Cutting Cafe Blog to see all the Design Team's creations.  Don't forget to leave a comment for a chance to win not 1, not 2, but 3 free sets.
 
Thanks for stopping by!

Monday, April 29, 2013

Thought I'd share....

Have you ever wanted to make a solid "lined" cirle or a dotted circle?  Well I figured it out, by accident.   I can't believe it!!!  While was working on my next project for The Cutting Cafe, it happened, a dotted circle!   It took me a few minutes to figure out what I did and how I did it.  I have been wanting to do this in photoshop elements and never really figured it out.    I can't believe how easy it is to do in silhouette studio.  I'm sure everyone but me knew this, but I thought I'd share anyway (just in case I'm not the only slow one out there). 


(click on picture to make larger)

I'm not the best at explaining this, but I will give it a shot.  So here it goes..........

1.  Select the Draw an ellipse (circle) shape.  It's the second section down on the left. 
2.  Select Line style window.  When you open the window you will have several choices that you can do with the line (right side of screen)
3. When you choose the solid line, you will get a solid outlined circle.  If you choose the dashed line (only the one right below the solid line) you will get the dots.  Depending on the dashed line you pick will determine how close together your dots will be.  (Examples shown)
4.  Also in the line style, you can pick thickness.  For the solid line,  you can slide the thickness bar to make your circle thin or thick. (different thicknesses shown above) For the Dotted line, you will chose the dashed line directly below the solid line.  So far I have found that this is the only one that will do the dotted line.  For the dashed lines you can choose one of the evenly placed dashes.  Moving the thickness bar will make the dashes small or big depending on the thickness you choose.  I have also found that you can pick one of the lines that has different size dashes and it will give you the look pictured on the last row above.   


You will see quickly the more you play with the different dashed lines and the thickness bar, the different looks you will get.  EASY PEASY!!!!

Well I hope this will help you.  I only wish I would have figured this out days ago.  I searched google for hours trying to figure out how to do this in PSE. 


Sunday, April 28, 2013

Finally, spring weather today...........

Yes, we finally got some spring weather today!   We are not out of the woods yet though, it is suppose to freeze next week.  Of course it is, this is Oklahoma.  We will probably skip spring all together and go straight to 100 degree summer!!! 

With spring here (I hope it stays) I really wanted to work on a milk can my friend and I got last  summer.  We like to go "junking" together.   That's what we call it anyway.  She has several of these cans.  I got one, not really know what I would do with it.  I had to do something with it, It just took me a while to figure it out.  Here is a sneak peek.  Keep reading to see what the final project turned out like.


I started first by spray painting it black.  After that I used my favorite craft tool, (I'm sure you haven't heard that before) my silhouette cameo to cut out a commercial vector from Peppermint Creative.  It's called Elegant Welcome word art
COMMERCIAL Vectors - Elegant Welcome Word Art
 
I couldn't decide on what to do after.  I didn't know if I wanted to put a dry flower arrangement or a live plant in it.  My friend, Teresa, does beautiful arrangements and did one in hers.  I just couldn't make up my mind (that's nothing new) so I decided to go the cheap way with the ivy.  Oh and the ribbon, yeah that took me forever to decide too!!!!  I hope you like the finished product.  It's sitting on my front porch.  My husband even said he liked it.


Sunday, April 21, 2013

Prom 2013

I don't post very much about personnel things (I try not to ~ when I do, I try to make sure it's positive) but I just have to about this.  Yesterday was my son, Chance's junior prom.  Oh man, has time changed, along with costs.  The tux alone was $200.00, actually it was over 200.00. I'm not kidding!  We hired a professional photographer, double decker bus, food, plus other expenses.  Thanks to one of the mothers, Chel, this all went off without a hitch.  I can't thank her enough for single handedly putting this all together.

I was so happy to be able to join some of the kids before prom festivities. Yes, I can't believe he went for that.  Wow, did these kids look so awesome all dressed up.  Didn't know these boys could clean up so nicely.  And the girls, they looked so beautiful in their dresses.  I have to say, even with all the expense, I am quickly reminded that memories = PRICELESS!!  So without further adieu, here are pictures of my handsome son, Chance and his beautiful girlfriend, Schyler. (and a few extras :o)


Tuesday, April 16, 2013

20, 30, 40..........

The hardest birthday for me, by far, was 30.  I cried for three days straight.  I didn't like 40 either, but I still think I had the hardest time for my 30th.  Now that I'm over the 40th birthday, I've decided I'm not going to celebrate any more  (Yes, I know that doesn't make them go away). 

Also the older you get, the more jokes you get.   Guess that is suppose to help ease the pain.  It's all in fun, right?!?   So when I was thinking of what to do for my project, I thought of this idea I saw on pinterest where they put blow pops in an arrangement in a cute flower pot with the saying "40 blows".   At first I was offended (yes, I don't have a big since of humor~working on that) and then I remembered about those jokes you get when you get older.   So here it is, remember it's all in fun!

This week for The Cutting Cafe we had to use:

The Tall Box Cutting template - cutting file

This TALL BOX template - cutting file is approx. 8 by 2.5 inches (all around).
The set comes with the following:
1 solid tall box
1 tall box with one window cut out
1 tall box with 4 window cut outs
8 sentiments
1 window frame
The file comes in the following formats: PDF, WPC, SVG and MTC
  
 I changed it up alittle, used gum instead of blow pops.
   
 
Used the Silhouette Cameo's print and cut feature.  I also trimmed the acetate sheet alittle shorter to make a shorter box.  This set is soooo easy to work with. 


Additional supplies: 
Acetate sheet ~ Staples
Double Bubble gum balls ~ found them from the Dollar Store
Whisper White Cardstock from Stampin' UP!
Digital paper set, Birthday Boogie, from Peppermint Creative

Birthday Boogie Papers

Sunday, April 14, 2013

End of School means special gifts for your teachers.

Next weekend is Prom for my son.  We are excited and are running behind on getting flowers and tux.  My sons girlfriend is soooo sweet and soooo pretty.  I will post pics as soon as I get some. 

After prom, I think there is only a month or so of school left.  OMG!!!  That is just crazy.  Okay, so I made a cute gift that you could give to your teacher to let her know that you appreciated everything she has done throughout the year.  I used the Commerical Vector- Teachers Scribble BlockArt from Peppermint Creative.  There are many more that you could use for this project and others.
I found this cute chalkboard at Hobby Lobby.  I think they have different sizes.  I had my husband drill small holes on the ends.  I first painted it a lime green, but didn't really have any ribbon to match so I repainted it red. 

To start off with, I imported the cutting file from Peppermint Creative into Silhouette Studio.  (Tutorial to come.~  Still trying to figure out how to get it posted.)  I used my Cameo and vinyl to cut the word art.  I hope to show you how to transfer the vinyl to the board shortly. 

Here is the project finished.


I love using the Vector art for projects.  I have several others to come.  Just waiting on the weather and the wind to cooperate. 

Thanks so much for stopping by. 

Don't forget to go by and check out everything that Peppermint Creative has to offer.  While you are there, check out the galleries.


Tuesday, April 9, 2013

Vacation is all we ever wanted, Vacation is..........

Okay, so I can't sing.  (At all!)  My family always turns the radio up when I'm in the car so I don't even bother anymore.  Every now and then at work, I will sing along (if that is what you call it) to the music that is playing.  There again, I'm quickly reminded that I can't sing.  Oh well, I try!

Can you believe there is less than two months left of school?!?  That means VACATION time.!!! It also means my baby will be a SENIOR!!!  Where has the time gone?  I'm so not ready for him to be a Senior.  I can't be any more proud of him, but I am just not ready to let go. 


The Cutting Cafe

For this weeks project for The Cutting Cafe, we had the choice of the SUITCASE BOX SET, SUITCASE MINI BOOK, SUITCASE TREAT BOX or THE POSTCARD.  I chose the suitcase treat box.  What fun sets, just in time for vacations.  With vacations comes alot of packing......in suitcases, of course.   I thought this would be cute to give to friends who are traveling.  Fill with their favorite candy, nuts or mini cookies.


SUITCASE TREAT BOX TEMPLATE - CUTTING FILE

Suitcase treat box 1

Made by Regina Easter~Owner of The Cutting Cafe!
 This SUITCASE TREAT BOX template - cutting file is approx. 4 inches in width by 2 1/2 inches high with a depth of 1 1/5 inches. The file comes with 5 sentiments and other accessories to decorate the front of your suitcase.
The file comes in the following formats: PDF, WPC, SVG and MTC
These are the sentiments in the set:SUITCASE TREAT BOX SENTIETS

So everyone that knows me, knows that I love polka dots.  (I can't wear them though...UGH!)


For the "leather" look on the handles and corners, I used a brown paint chip that I had gotten either at Lowes or Wal-Mart.  I'm always painting something, so I pick a few up here and there.  They have a little glossier look than just printing it on paper. 


I used Photoshop Elements to bring in some stitching for the red straps.  I don't think I turned the color quite dark enough.  I also used my FAVORITE tool in my craft room.....my Silhouette Cameo with the Silhouette Studio software.  I'm in love with the print and cut feature. 

Don't forget to stop by and look at all the other creations the team has come up with.  I can't wait until Wednesdays to see them.  Everyone is sooooo talented. 

Thanks for Stopping by!


Wednesday, April 3, 2013

I know Easter is over...........

I know Easter is over, but I wanted to post a project that I made.  My intentions were to get it done and posted for my project for Peppermint Creative before Easter, not after.  UGH!!!! 

For this craft, I sprayed the top of a parmesan cheese container in a tan color to match the paper that I used.  The paper is from Easter Blossom kit.  I also used one of the ovals from the Gingerbread Frames.  Oh and the bunny from Speckled Egg kit~brights.


I used Silhouette Studio and imported the paper, frame and bunny.  The bunny I cut out of a brown paint chip that I picked up from Wal-Mart some time ago. I did this by importing the bunny from the Easter Blossom kit, select the "trace outer edge" feature and then I cut it out.  I printed a whole page of the paper from the Easter Blossom kit.  For the oval scalloped frame (Gingerbread frames), I used the Select Trace Area feature, click the high pass filter (so that it is unchecked) and then move the threshold slide bar until the area is all highlighted.  Once you do this, select "trace outer edge" button.  You can then move the frame off to the side and fill the "traced" frame with whatever color you like.  I also used the oval to cut an oval in the printed paper that I printed earlier.  For finishing touches, I used two way glue and prisma glitter on the oval.  Hope this helps.

I filled the container with these cute little milk chocolate bunnies. (pictured above)
Don't forget to stop by and check out all of the awesome products that Peppermint Creative has to offer.

Like I said, I know it's after Easter, but maybe you could do this for another holiday or for a gift for a friend.  Fill it with their favorite candy and of course use a birthday theme, or whatever fits the occasion.