Showing posts with label print and cut. Show all posts

Tuesday, February 17, 2015

I Have some AWESOME news to share!


I have some really GREAT news to share with you!!!  I'm really excited about telling you what I've been up to lately.   As you already know I love crafting, all kinds.   But one of my most favorite things to do is Hybrid crafts.  Hybrid crafting is combining traditional (old school/fussy cutting) and digital into one.  Digital scrapbook kits and accessories aren't just for scrapbooking any more, it's for making fun projects like gift boxes, cards, tags, bookmarks, etc.  The possibilities are endless.

So with all that said, here is my really awesome news.....I have been chosen to be on The Digichick Hybrid Creative team. 

I have already posted my first blog post at The Hybrid Chic and posted a few projects in the gallery.  These were made with the kit Warm Heart by Akizo Designs

Warm Heart | Kit

Warm Heart by Akizo Designs


Gift Tag using papers and elements

All you need is love card


Gift box using same kit

 There are some very talented ladies designing at The Digichick.   Kimeric Designs,  Meagan's Creations,  Sweet Digi Scrap Designs, Laitha's Designs, are just to name a few.  There are so many kits that I want to work with that my head is spinning. 

Next Monday I will have a new blog post for you here and at The Hybrid Chick, so be on the look out for that.  Don't be afraid to leave some blog love to let me know how I'm doing.
 
I am still at Peppermint Creative on the hybrid design team.  I will be there as long as she will have me.  Miss Mint has taught me so much and I hope to be there a long time.  Here is one of my lasts posts there.   I used the My Guy digital kit to create this tag and the cute heart box for Valentine's Day.

Love that lasts tag using the My Guy Kit

Heart Tote using the My Guy Kit


My Guy Kit

Here are some new products in the store.  I can't wait to use them, they look super fun.

 
Journal Doodles v.01

LIP: 4x6" Doodle Card Stamps v.01

Thanks so much for stopping by and letting my share my good news with you.

Have a Blessed week

XOXOXO,  Tanya


Monday, September 29, 2014

It's Been A While.......

 I've been MIA lately.  Without going into the details, life has been a little nuts lately.  Summer, family, work, etc. etc.   I know that is not a excuse, but that is what has been happening. 

One of the fun things I got to do lately was work with this fun digital scrapbook kit called Party Pants from Peppermint Creative.    I really love the fun colors in this set.  The balloons, the cake, presents....just so much fun party stuff.  


http://www.peppermintcreative.com/index.php?main_page=product_info&cPath=133_1&products_id=2830
 
Here are a couple of hybrid crafts that I made with this kit and my Silhouette Cameo.  The first one is one of my favorite cards.  It is made with the balloons and the Celebration word art.
 
 
I made a card base 4 x 5 and enlarged the balloons to where they were "off" the sides of the card.  I also printed an extra copy and cut around some of the balloons and layered them to add dimension.  I used black twine and tied it around a few of the balloons.
 
Here is another card using the birthday cake.
 
 
One of my favorite things to do with my Cameo is Print and Cuts. 
For this print and cut, I cut out several extra pieces and adhered to the base of the card with pop dots
 to give dimension. 
 
And last but not least, is a cute little box that I made with the paper from the Party Pants kit.
 
 
Hope that these hybrid projects inspire you to take out your favorite digital kit and make something fun. 
 
Have a GREAT week!
, Tanya
 

Friday, July 4, 2014

4th of July Party Treats

I hope that everyone is enjoying their summer.  It's been okay here so far. It's not as bad as it has been in the past for Oklahoma weather and I am SOOOOO THANKFUL!

I can't believe it's already here.....JULY!  Omg...that means I need to get on the ball and get some things done.  One of those things I finally finished tonight.  I made these cute tags to tie around my candy treats.  I think everyone that comes to the celebration will love them.
.
 
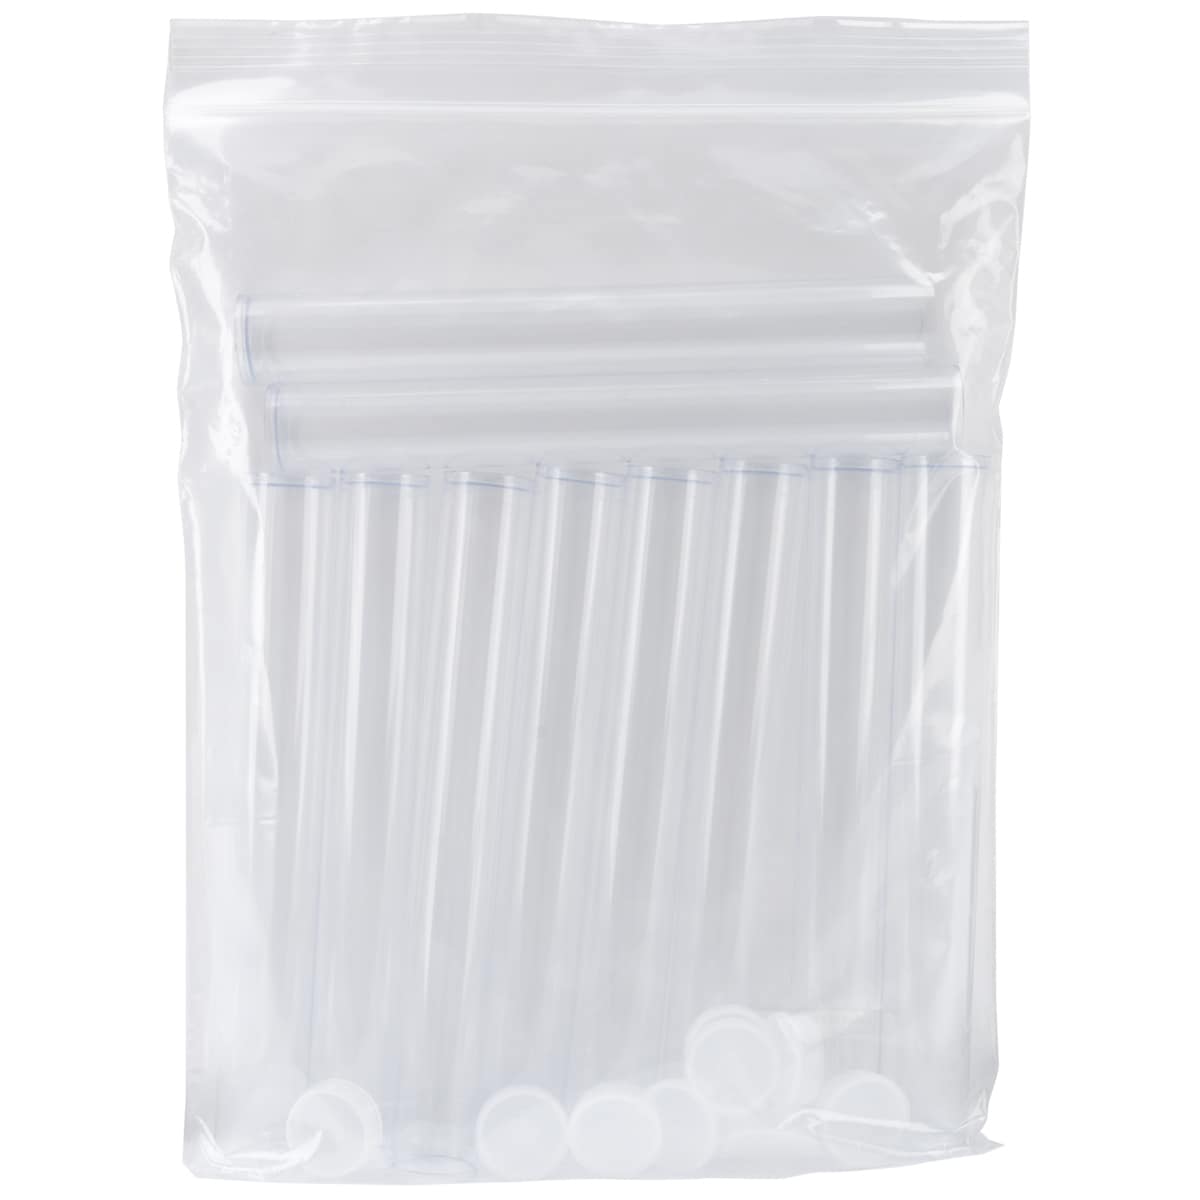
http://www.overstock.com/Crafts-Sewing/Clear-Tall-Round-Craft-Tube-8-10-Pkg/6740114/product.html?searchidx=1
I used these little tubes that I purchased from Overstock.com
 
The digital scrapbook kit that I used was from Peppermint Creative and it's called
 
http://www.peppermintcreative.com/index.php?main_page=product_info&cPath=111_117&products_id=2487


These are a few of the other tags I made to wrap around my candy tubes.


I really enjoyed making these cute treat tags for our party tomorrow night.  I hope everyone likes them as much as I do.  I hope they still have M&M's in them when I hand them out....LOL!
 
Below are some brief instructions on the cutting steps.   Before you can  print, there are a few steps that you need to do so that the cut part will work properly.
 

 First chose the size paper you will be using, I work with 8.5x11.  I'm guessing that is what most use.


 Next, you will need to make sure that the "Show Reg Marks" are checked.  This is so that the machine can scan the marks and know where to cut out your images.
 (You will need to have those cut lines on ~See Below)
 
 
To open the cut style options, you will click on the scissors at the top of your screen.  Here you can see there are several options.  See where the "let's celebrate" is circled in black?  If you look over to the right you can see that "No Cut" is chosen for that image.  Now look at the rest of the images.  See how the have a red line around them?  This is because the cut lines have been picked. 
 
This is also where you double check to see if everything you want to cut has the red around them and anything you don't want to cut doesn't have the red around them.  Here I missed picking the cut line.  Not a huge deal, it's simple enough to cut out with scissors.  Where this makes a huge difference is if you have a saying on top of an image that you don't want cut, but you do want the outer edge of the tag, card to be cut.  You would need to select the saying and click "No Cut" and the reselect the whole image and pick the "cut edge"


Finally, we can print and cut.  Make sure everything is on the page correctly and not overlapping anything.  To find this menu, click on the pencil at the top right of the page.  This will open "Cut Settings" Here is where you choose the media you are using.  For this project, I used white cardstock, so I chose "cardstock" in the media box.  Once you do this, it will automatically change everything to the appropriate settings.  There may be times that you have to do some manual adjusting in the program.
 
Finally, before you hit the cut button, make sure that you have your blade in your machine changed to the correct settings.  This will save you time and money.  I don't know how many times that I forgot to do that and how much paper and vinyl I have wasting by forgetting this step.  You will also need to put your media (cardstock) on your cutting mat and load it into your cameo.   Now hit the "CUT" button and watch it do it's magic.
 
I would love to hear what you think about this project and if you have any questions at all, please feel free to message me.  I would love to help.
 
Thanks so much for stopping by!
HAVE A HAPPY 4th of JULY!!
Be safe!
, Tanya


Friday, April 18, 2014

"Egg"stra special Easter Basket Tutorial

Hopefully this weekend will go better than the last.  I still can't believe I finally got to the point of shopping and running errands and I got sick...really sick.  Thanks goodness I'm better now and after work tomorrow, I will attempt to do that shopping once again. 

I have a tutorial I'd like to share with you.  I made it for Peppermint Creative.  And...right now if you go there you can get this Silhouette file and/or a printable file for FREE.   I know it's cutting it close, but it truly takes very little time to put it together. 


Photo1 printable easter egg basket
Supplies Used:
  • Cardstock
  • Scissors or Cutting Machine (Silhouette)
  • Double-Sided Tape
  • Easter Grass
  • Printer
  • Candy
  • Free Template
Photo 2 DIY paper silhouette easter
How to:
Easter is such a fun holiday for crafting. I couldn’t resist creating a cute egg shaped basket using my Silhouette machine and my favorite Easter themed digital scrapbooking kit Speckled Egg: Brights and I’m so excited to share my template with you. If you don’t have a Silhouette Cameo, don’t feel left out – I’ve also included instructions and a template to create this cute basket easily by hand with a pair of scissors as well.

Instructions by hand (without using a Cutting Machine): 
Print the template on fairly sturdy cardstock and cut it out.
Photo 3a
Photo 3b
Next fold along the dashed lines.
Photo 4a
Add double sided tape and tape the box together.
Photo 5
Apply the egg to the top of the box with double sided tape. To finish the box, you can add the handle, or leave it off.
Photo 6
Now for the fun stuff. Add the Easter grass.
Adding grass
And the delicious candy and voila – you’re finished! It’s that easy.
Add candy paper basket
Instructions for Silhouette SD/Cameo Users:
We will be using the Silhouette Cameo and the “Print and Cut” feature.
Print the basket with or without the egg already on it.  Make sure that you turn on the registration marks so that you will be able to cut it out after it is printed.
Photo 7a 2
  Photo 7b cut silhouette
You will find an 8.5×11” document with 2 eggs on it which you can use if you’d like to print the sheet and have the silhouette cut them out or you can add the included .PNG egg to your template and print and cut just once. If you are cutting the box and then the images, you will simply add a piece of white card stock to your mat and cut the box out.
Photo 8 a 2
Photo 8b 1
Next you will cut the egg image out.  You can see that I added other images from the kit on the paper so that I wouldn’t waste any paper.
Photo 9
Now on to the assembling. Fold at the dashed lines.
Photo 10
Next add the double-sided tape and tape the box together.
  Photo 5
Apply the egg to both sides of the box. If you printed it with the egg already on the box, you will skip this step.
Photo 6
To finish your Easter “Egg” basket, You can either apply the handle or leave it off.
Now add the grass and the candy as shown above and you’re done.

To Get the FREE file go here!

I used the digital kit, Speckled Egg - Brights, from Peppermint Creative to make the basket.

http://www.peppermintcreative.com/index.php?main_page=product_info&cPath=111_118&products_id=2375
 
I hope that EVERYONE has a HAPPY EASTER!! 

Thanks so much for stopping by!
Tanya

Tuesday, April 1, 2014

Baseball Party Favors and a free Silhouette Cutting files.

A Co-worker and friend of mine asked me to make some "Thank You" tags and some straw flags for her son's birthday party.  Of course I said "Yes!"  It was going to be a baseball themed party and she had a few ideas that she found on Pinterest.  All my friends and co-workers know that I have my handy dandy Silhouette Cameo and that I can make all kinds of fun things.  I don't mind and it gives me a lot of practice.

The following tags and flags for the party was made using the "Print and Cut" feature.  This is by far one of my favorite things to do on my machine.
Here are the Flags that I made.  I used some straws that I purchased from Pick Your Plum.

After cutting them out, I added double sided tape and wrapped them around the straw. 
(She is going to tie them to the bottled pop.)

 Here is a close up of the flags.  I download the FREE font at Dafont.com.  t's called Brannboll.
I looked up where she got the pin from so that I could give them credit...It was from itsybelle.blogspot.com
Here is the FREE file you can use in Silhouette Studio.  Click on the image below to DOWNLOAD.
https://www.mediafire.com/?68jw8zu5fjwted0
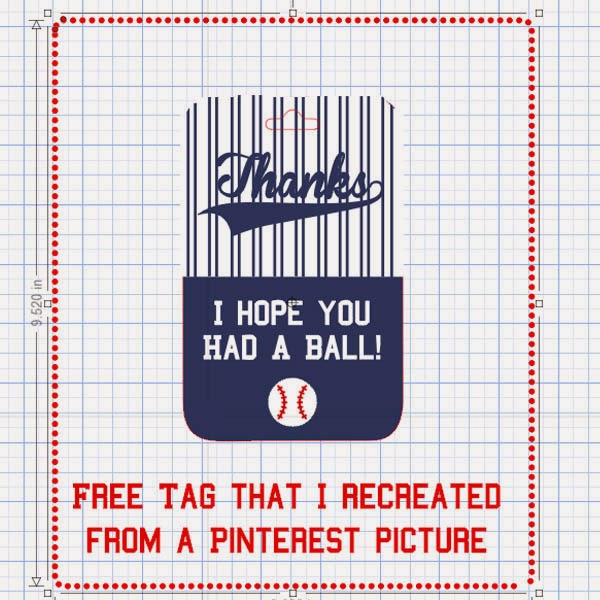
  The tags below were created using a picture she gave me from Pinterest.

Click on the image below to DOWNLOAD
https://www.mediafire.com/?lw5twtlk5e335g3


I made this sign so that all his friends could sign a "Birthday" baseball.  It says "Please Autograph Hunter's Birthday Ball!"
 I hope that this will help some of you that are planning Summer Baseball Parties!

 Thanks for Stopping by!


Monday, February 17, 2014

What a Beautiful Day it is Today!!!

Finally, some warmer weather.  It's been a really cold winter, too cold for me!!  I don't care for the heat either, but today.....today is awesome!  Oh and it's even better because I'm off today for President's Day! 

The next holiday is St. Patrick's Day!  All I really know about St. Patrick's Day is that you have to wear green so that you don't get pinched!   I also know that is was originally started with the Roman Catholic's and that day all food and alcohol consumption is lifted.   I don't know about you, but I can see that being VERY dangerous.  It's probably a good thing, it's not celebrated here like it is in Ireland!!!

 Here is a project to celebrate St. Patty's Day! 

 
This project was made with the Miso Lucky Kit and Chevron and Solid Papers v.01 from Peppermint Creative.  I also did a print and cut with my most favorite tool ever, my Silhouette Cameo!  I don't know what I would do without it!


Here is a close-up of the tag.  I bought the tag from the Silhouette store.  I also did a trace on the shamrock and added pop dots for more dimension.

 
Thanks for stopping by!  Hope everyone has a GREAT week!
Tanya~